
Targets can be viewed in plan view by navigating to plan view and entering edit mode. Targets can not be viewed in the default view mode. These will require the correct permissions to the site. When in edit mode, you can click on a device location with one or more ECGs attached to it or a group on the floor plan to display all of the instances that are targeting the selected feature in the right-hand side panel. This information may take a while to load the first time. Clicking on one of the targets will attempt to select the device location with the instance attached on the floor plan.
Selecting a device location with one or more instances attached to it on the floor plan will display a list of each instance's targets in the right-hand side panel. This information may take a while to load the first time. You will also notice that the icons on the floor plan will dim other than the icons that are being targeted by the selected instances. If the highlighting behaviour is not desired, then it can be enabled or disabled in the top header bar by clicking the Targets dropdown and toggling the Highlight targets option.

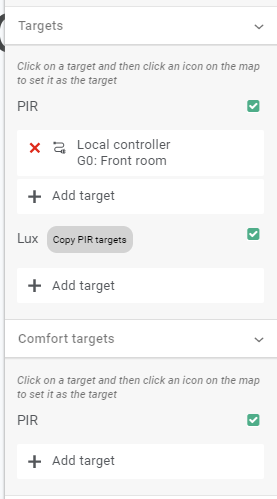
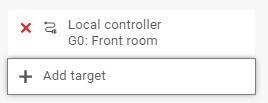
Aside from viewing the targets for the instances, they can also be edited in various ways. To the right of the instance label is a checkbox. This signifies whether the instance is enabled or disabled. When disabled you will not see any targets for the instance and no targets will be triggered by the instance.

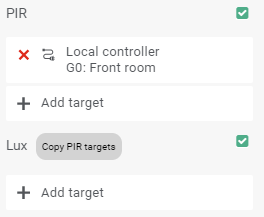
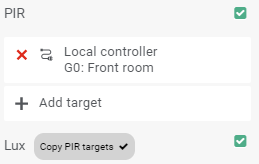
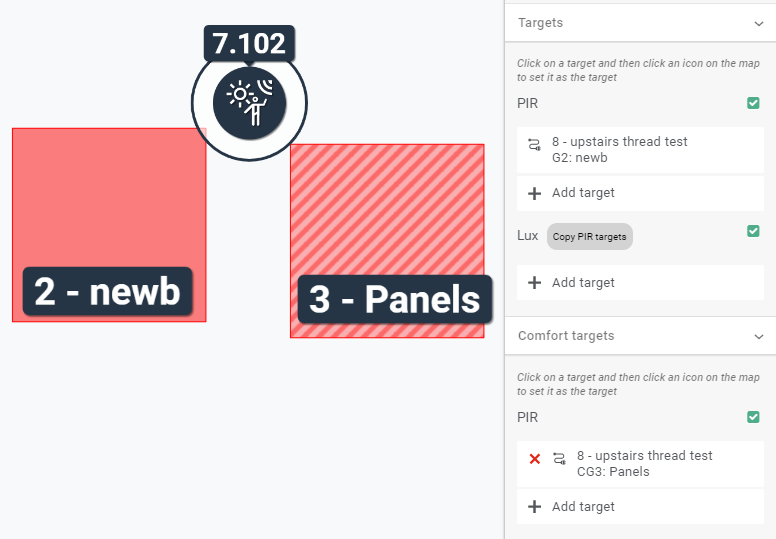
If a device location has both a PIR sensor and a lux sensor attached to it then an option will appear on the lux sensor instance to copy the PIR sensor's targets as this is a common use case. Enabling the option will update the targets to match and will hide the targets for the lux sensor. Any further changes made to the PIR sensor's targets will also be reflected for the lux sensor's targets. Unchecking the checkbox will display the targets again and they should match the current PIR sensor's targets. They will not be the same targets that were set prior to enabling the target matching function.
A maximum of 8 targets can be set for an instance. This count includes both regular targets and comfort targets. Targets can be added by pressing the Add target button at the bottom of the targets list for an instance. If the button is not there for an instance, it means that the target limit has been reached for that instance. When you are in selection mode, you will notice an outline around the add target button. It will stay selected until you run out of targets or click the button again to deselect it.
Whilst you are in selection mode, you can click on a group on the floor plan that is not already added as a target for that instance. This will then add the group to the list of targets and highlight it on the floor plan if not already highlighted. The add target button will stay highlighted if you have not reached the target limit and can continue to click another group to add more targets. Targets can be added across control systems so you don't need to worry about selecting a local group.
If you want to select an address as a target then you have to enable address targeting by clicking the targets dropdown from the header bar and then click the Allow targeting addresses option. It is disabled by default as most targets will be targeting groups so this allows less margin for error when commissioning targets.
Comfort targets are set the exact same way that regular targets are. They can only be set for occupancy sensor instances and require at least one regular target first before being able to set any comfort targets. They will be highlighted on the floor plan with a striped pattern rather than a solid colour if there are no regular targets that target the group as well. This is so that they can be easily distinguished on the floor plan.
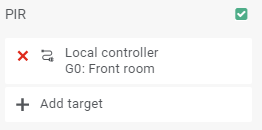
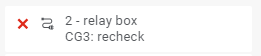
Targets can be removed by clicking the red X on the left side of the target. You can only remove the last target that was added. If you do not see a red X next to any targets, there may be a red X next to one of the comfort targets or vice versa.
To edit an existing target, you can click on the target you want to edit. You will notice an outline around the target you selected. All of the highlighted icons on the floor plan will now be dimmed other than the target that you selected in the right-hand panel. This allows you to easily identify it on the floor plan. When you have the icon selected you can click on other groups (or addresses if the option is enabled) on the floor plan to change the current target to the new group. Changes are not saved until you press the green tick that is inside of the selected target. Pressing the red X will discard changes and revert the target back to the original value.
If you need a more advanced target selection then the pencil icon can be clicked to display dropdowns below the target. They are similar to the target input selections in grid view. You can select a control system or zone to target and any type of target within that control system or zone. This should only be used in special cases. Grid view can be used for the some functionality as well.

Comments
0 comments
Article is closed for comments.