
Adding existing groups to plan view
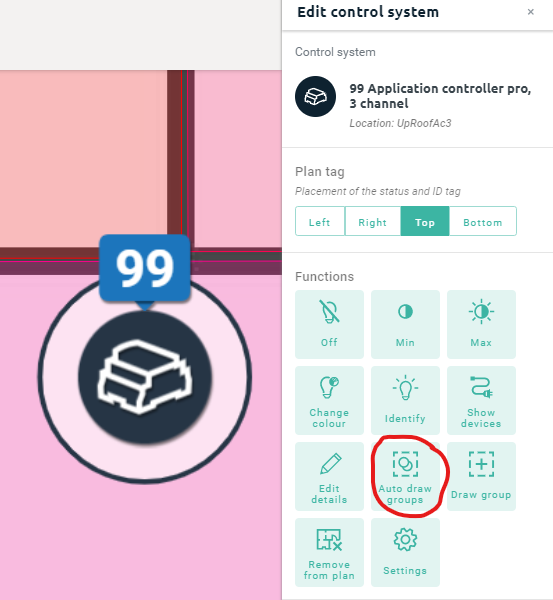
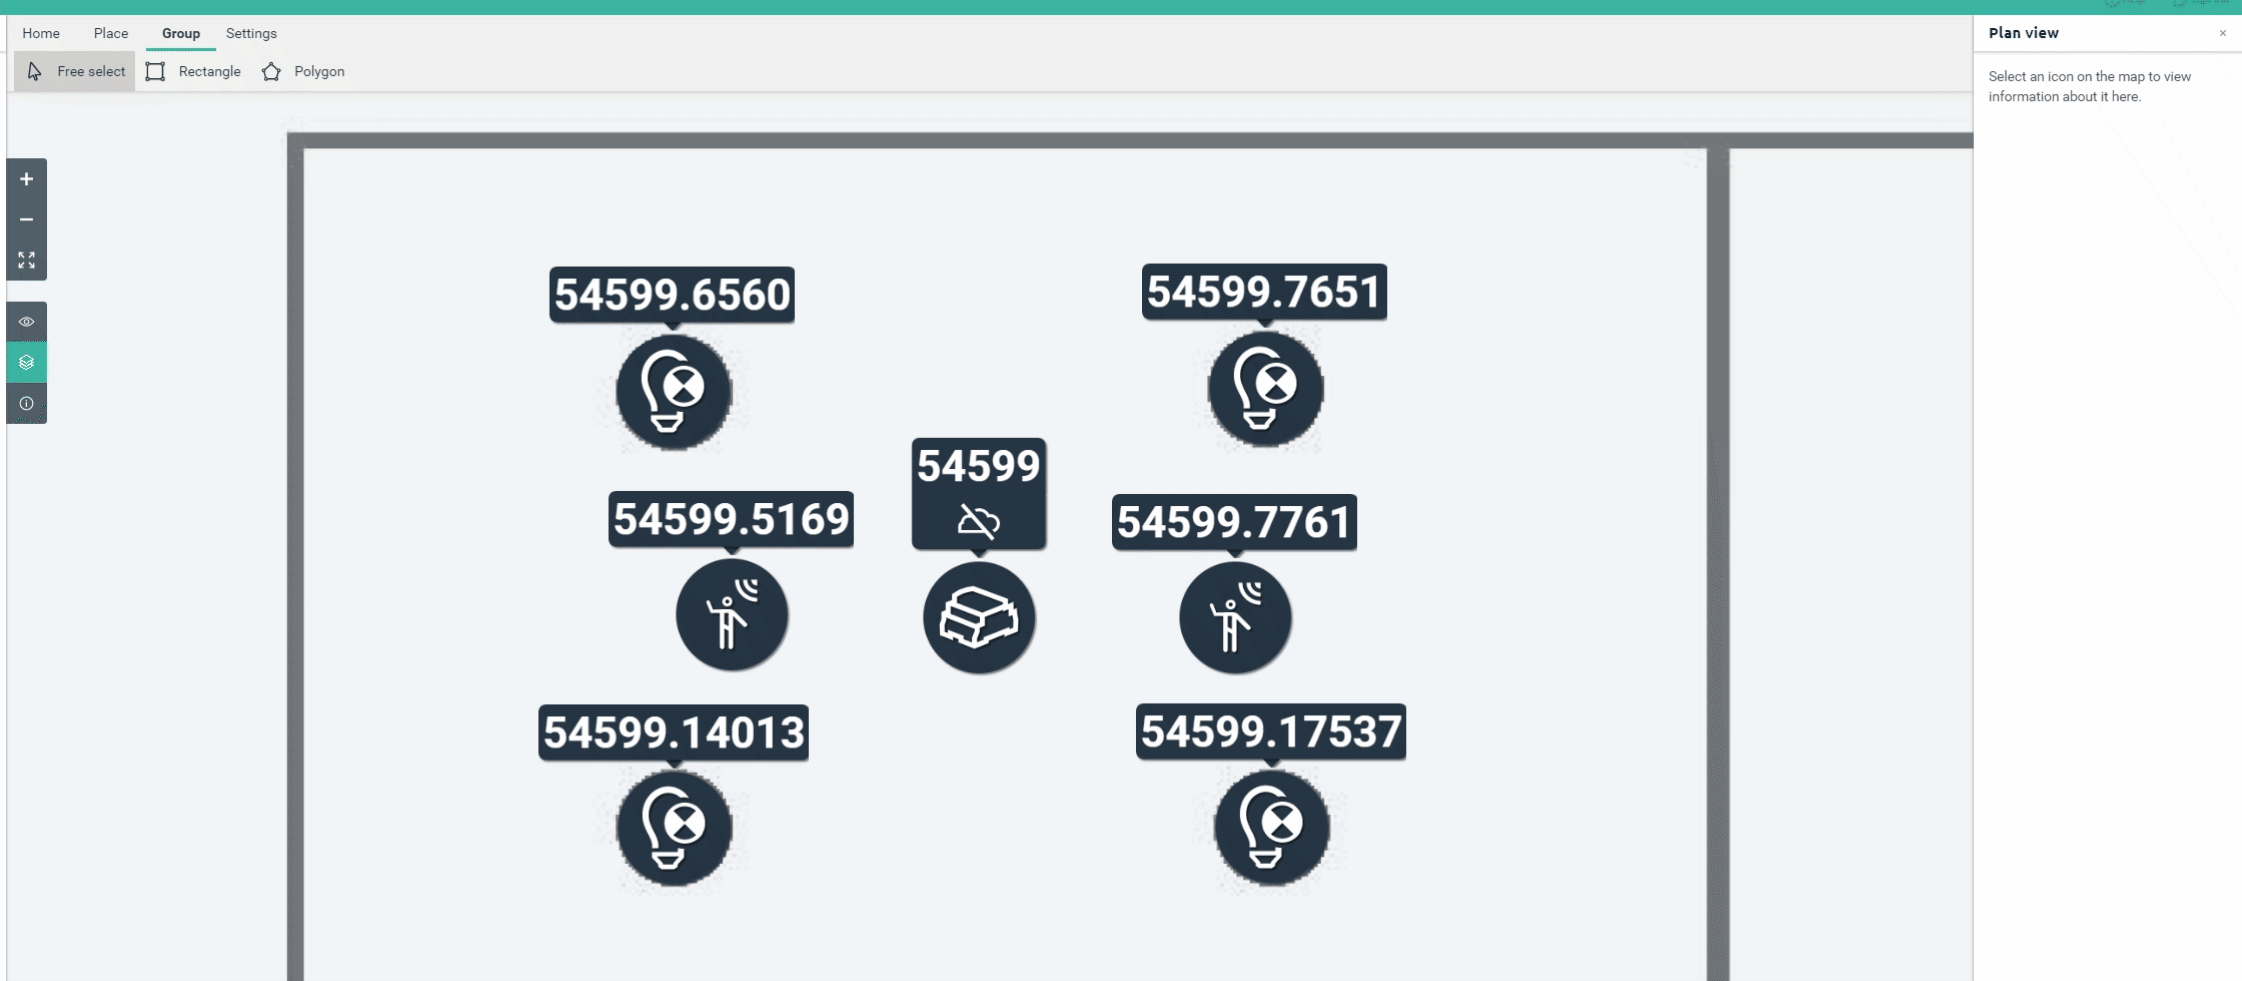
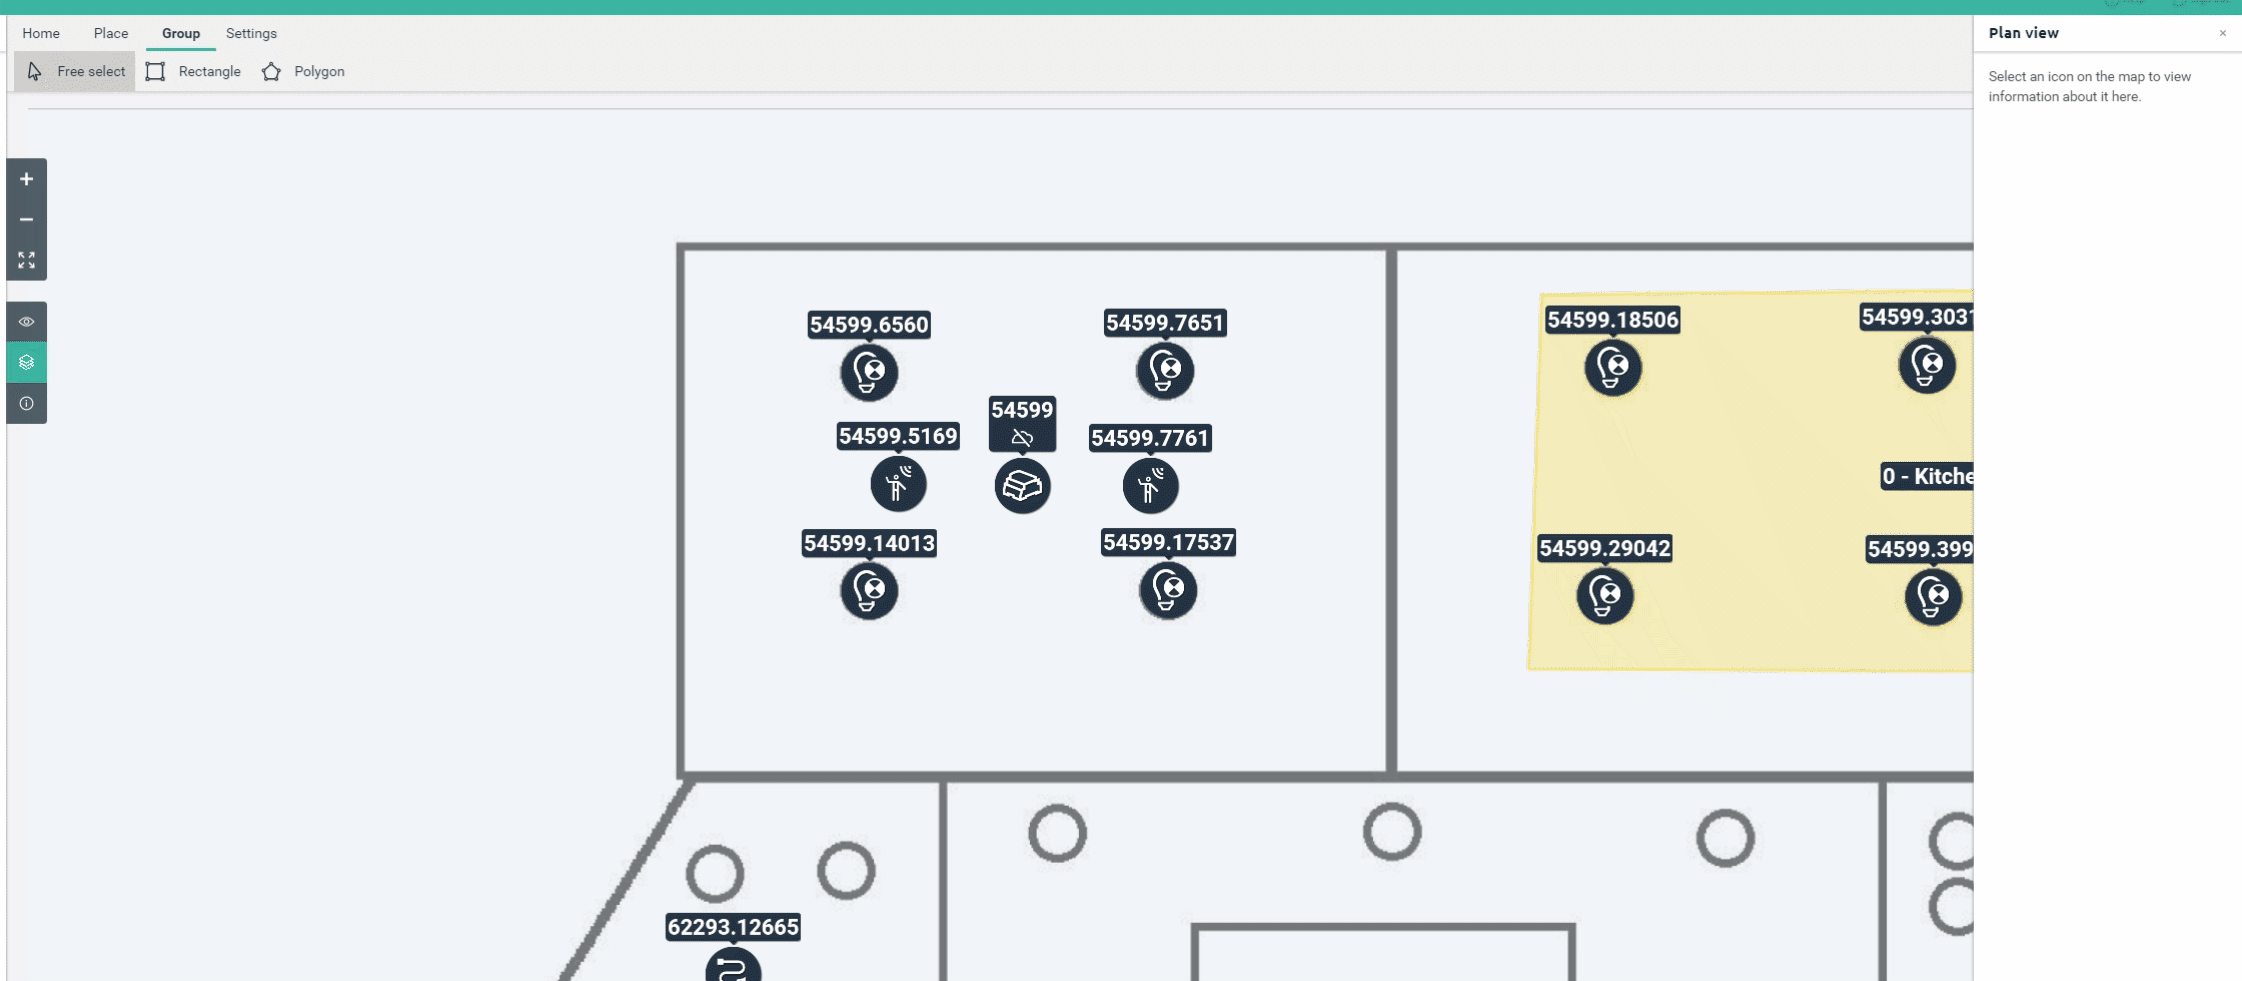
Using plan view to add existing or new groups to a floor plan is super simple. For existing groups all you need to do is enter edit mode by clicking "Edit" down the bottom left in the floors panel, select the control system that the group is on that you want to add, select the "Auto draw groups" function and select the group you want to automatically draw. This will then generate a boundary around all of the devices currently placed on the plan that is apart of that group. Groups will only be drawn if the Plan visibility checkbox is enabled in the groups view of grid view.
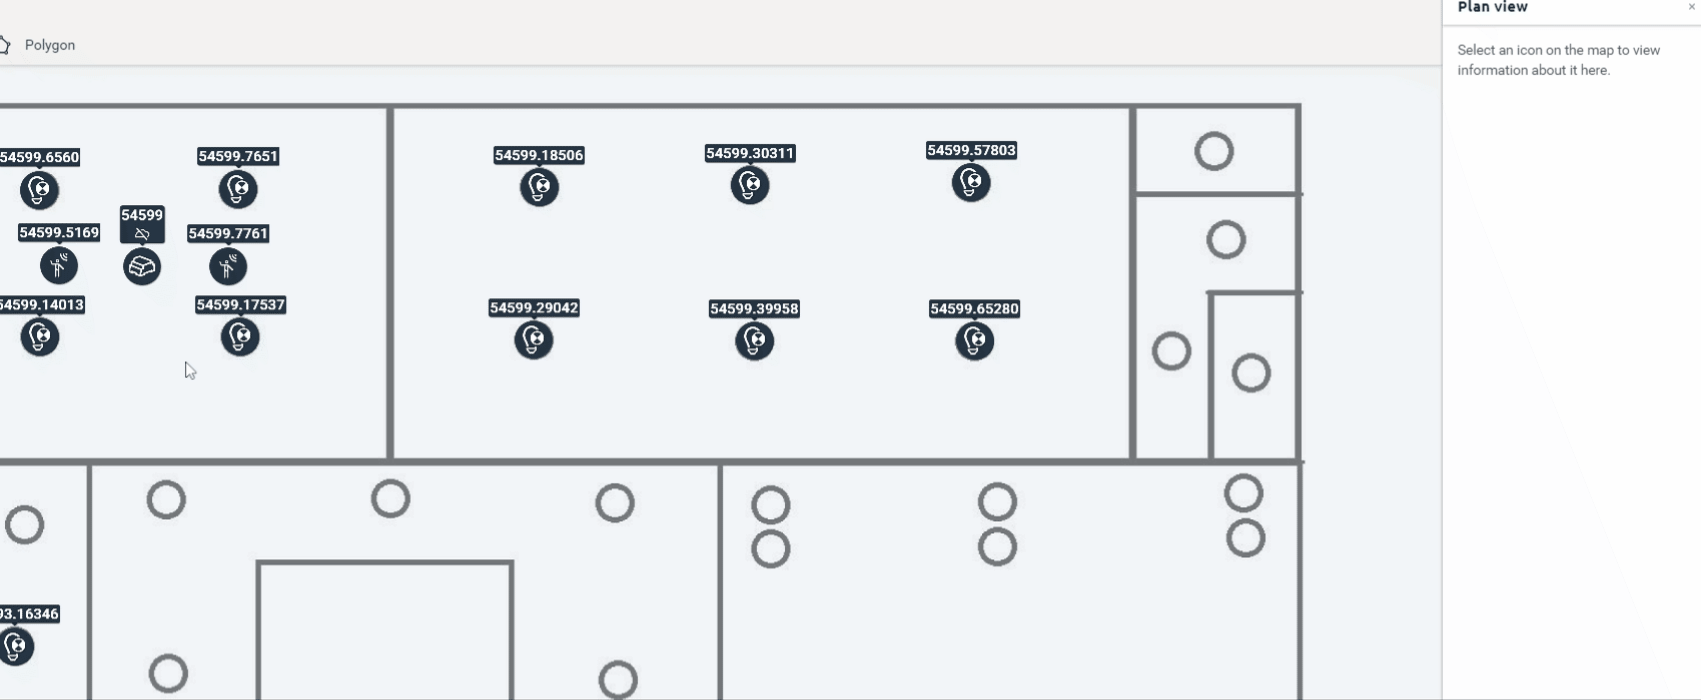
You can also choose an existing group when drawing a group but it will not automatically draw around devices that are already assigned to it but rather the area that is specified by you. If the control system is placed on the floor plan you can also select the control system whilst in edit mode and select the auto draw groups function which will display a list of applicable groups that can be automatically drawn.
Drawing new groups in plan view with automatic assignment
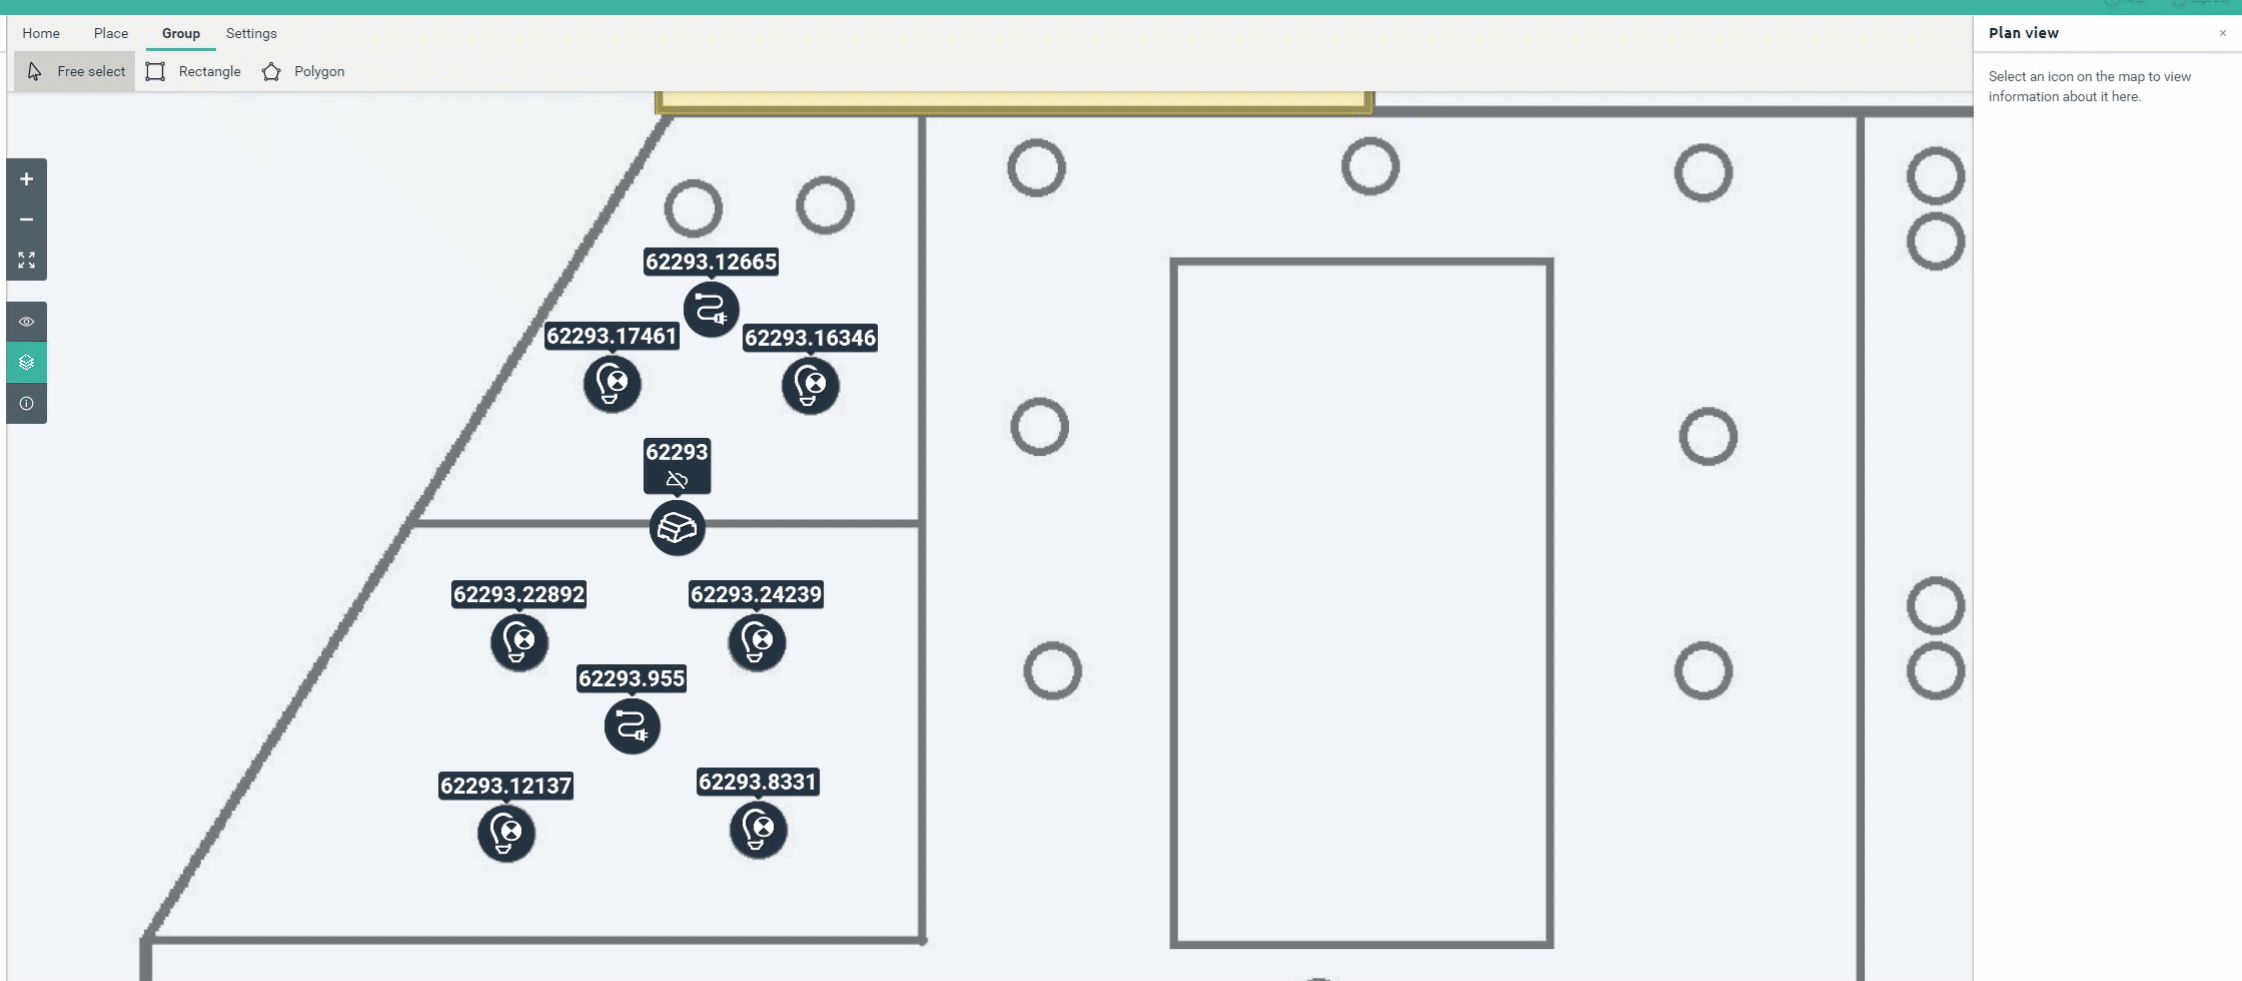
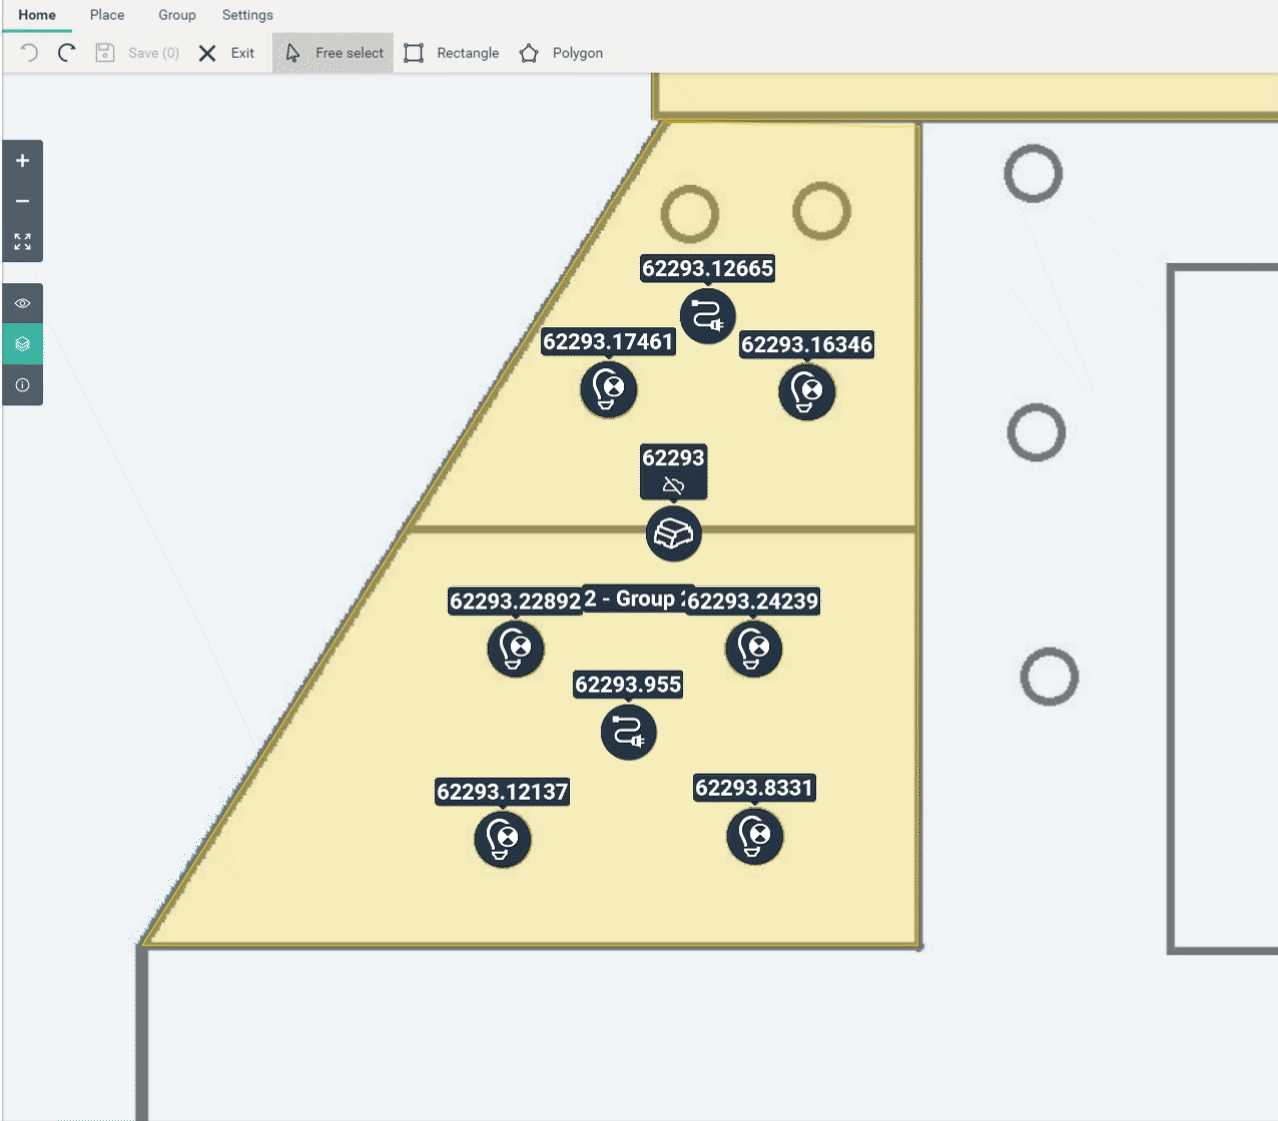
To select your own groups, there are a couple of ways of doing so. Under the "Group" tab there are several selection modes here. The default one is "Free select". This doesn't draw anything and just allows you to click and select one or more devices on the map and then can select "Add to group" under the functions section to automatically generate the group's region around the selected icons. Groups will only be displayed in the list if the Plan visibility checkbox is enabled in the groups view of grid view unless you click the Show all groups checkbox. Adding a group to plan view that does not have Plan visibility enabled will automatically enable it so that it can be displayed on the plan.
If you select devices that have no ECGs or select multiple icons that are not on the same control system then you will not be able to add them to a group and a message explaining that will be displayed under the functions.
The other selection modes are similar to the modes under the "Home" tab but these are used for specifying the group's region before adding them to a group. When selecting "Rectangle" or "Polygon" modes you can draw the relevant shape around the devices that you want to add to a group and the shape will not disappear when finished selecting icons. If the selected devices can be added to a group you can then select "Add to group" function and select the group to add them to and it will use the region that you drew as the group's region rather than generating it.
New groups can also be created from the "Add to group" menu if any groups are able to be created on the control system. Once groups have been created they can have their colours or labels update from the right side panel. They can also have their labels moved on the map if they are not in a desirable position. The boundary of a group's region can also be edited when selected. New vertices can be created by clicking anywhere on the boundary of the group and dragging.
Drawing new groups in plan view without automatically assigning to the group
If you want to draw a new group on your floor plan without it automatically assigning all of the devices in the group area to the newly drawn group then you can do so only if the control system is placed on the same floor that you want to draw the group on. This method also allows you to freely draw groups rather than being limited to shapes.
To do this select the control system for the group whilst you are in edit mode. In the functions section select draw groups. There will be a dropdown at the top of the following dialog that you can change the shape that you want to draw as well as a checkbox for displaying all groups, including groups that do not have plan view visibility set on them, and a list of groups that have not been drawn on the floor plan yet.
Clicking a group from the list will highlight it indicating it is selected for drawing and change your draw type on the floor plan to match the setting in the dropdown. From there it's the same as drawing a group normally. After you draw your group, you can save your changes and it will only save your new group's coordinates on the map and won't automatically assign any devices to the newly drawn group.
Comments
0 comments
Article is closed for comments.